Wednesday, September 28, 2011

Orange Spice Cupcakes with Orange Coconut Cream Cheese Icing

Celebrating My Birthday Together
12/16/2010
I can tell you where the months went since the last recipe post. They were swallowed up by time. Time spent preparing for a working cruise in Hawaii. Time spent being with my mother as much as I possibly could, and then time spent flying my mother to her final resting place in Pennsylvania on July 15, 2011. Time spent with the most profound grieving I never could have imagined. Time spent in Hawaii working. I'm back now. My thoughts and sadness still gravitate to my mother daily and how I am missing my best friend. And I realize that life does go on, and each day there is perhaps a little less sadness and a little more peace of mind. So, here I am with the newest offering on the blog since this past April, something spicy, perky, sweet and perfect for the fall season.  My mother would have thought these cupcakes were gorgeous.


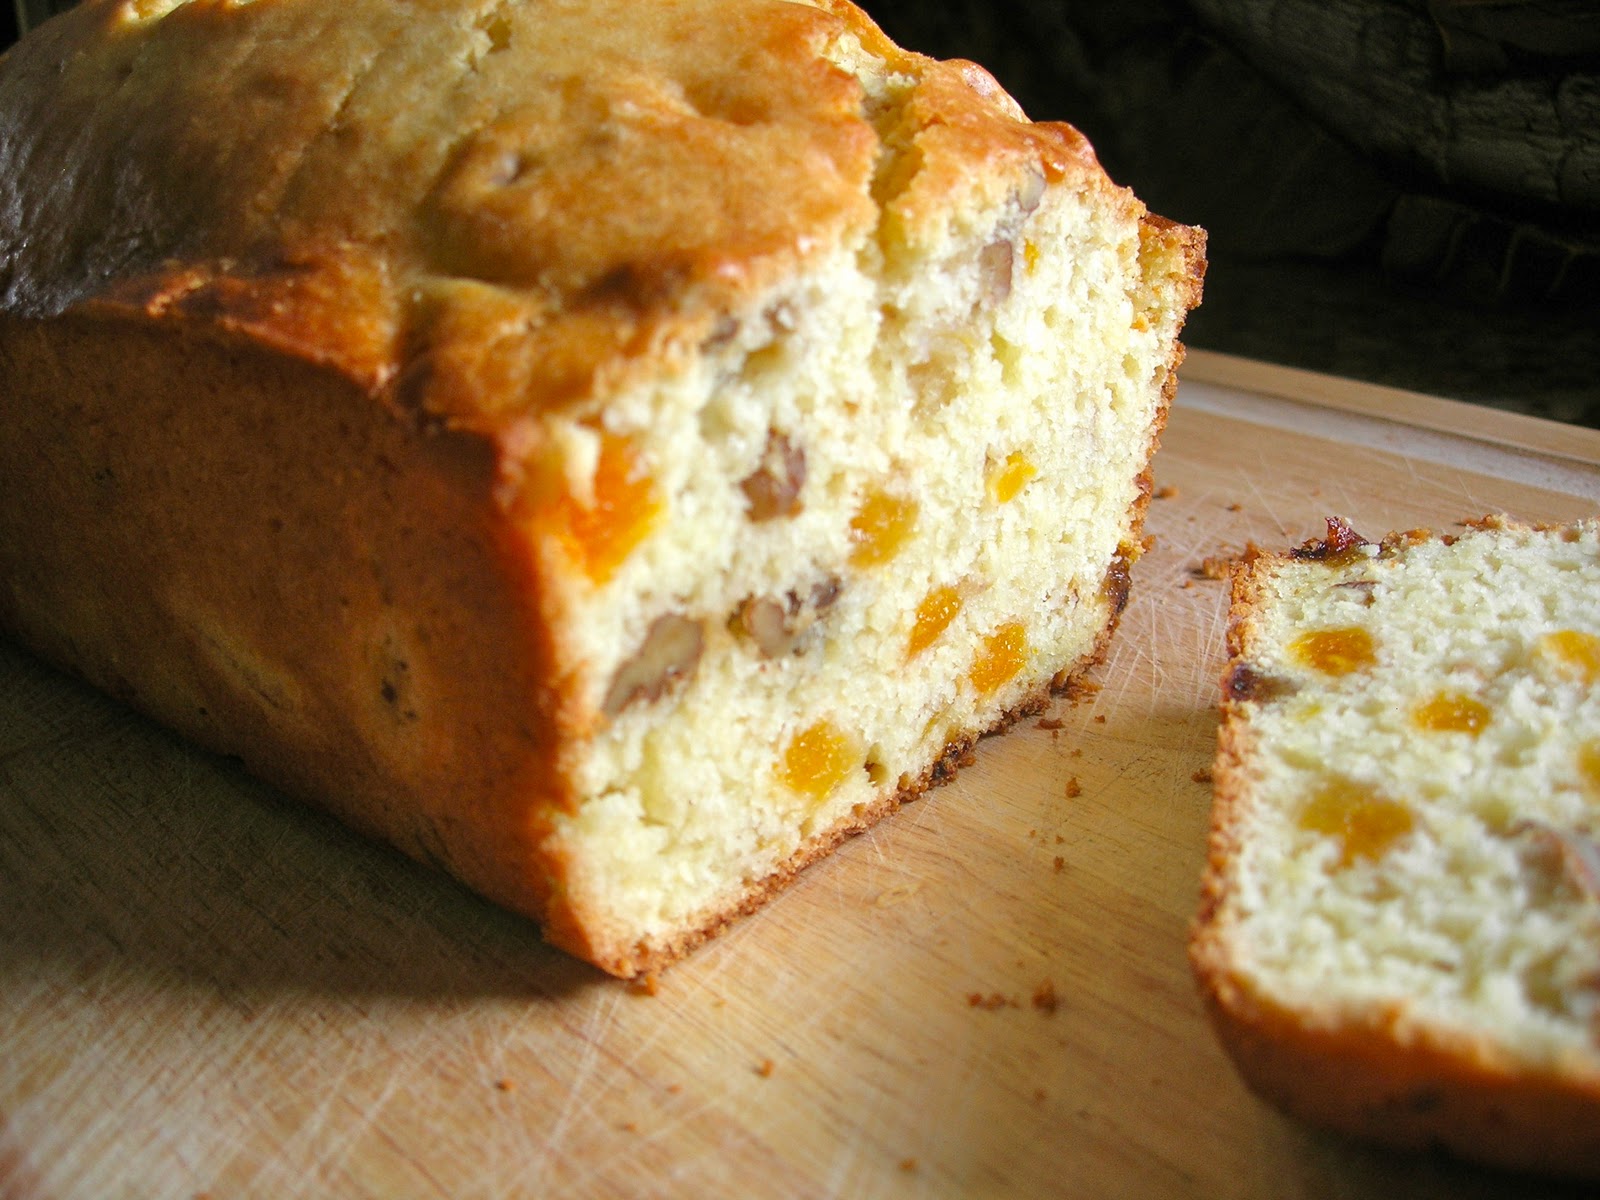
ORANGE SPICE CUPCAKES

2 1/2 cups of flour
2 tsp. baking powder
2 tsp. cinnamon
1 tsp. ground ginger
1/4 tsp. nutmeg
1/4 tsp. cardamom
1/4 tsp. salt

Stir these dry ingredients together in a bowl and set aside.  Now, as many of you know, I have a jar of cardamom that I've been trying to utilize and justify the cost ;-)  Yes, it was expensive, but amazingly I am nearly finished with the jar!!! (I've used the better part of it sprinkled into my coffee grounds before brewing, excellent.)  If you do not have cardamom and don't want to invest, then don't add it.  Replace it with cloves, or nothing at all.

1/2 cup softened butter
1 1/4 cups light brown sugar
3 large eggs
1 tsp. vanilla extract
1/2 tsp. orange extract (buy it where you buy vanilla)
1 1/4 cups of milk

With an electric mixer, beat the butter and sugar together until light and fluffy.  Add the eggs one at a time and beat well after each addition.  Beat in the vanilla and orange extracts.  Stir in the flour mixture and the milk alternately into the butter/sugar mixture, stirring only well enough to combine, ending with the milk.  You don't have to use a mixer for this.  Divide the batter between approximately 16-18 paper-lined muffin tins, filling about three-quarters full. Bake for 20 minutes or less in a preheated 350 degree oven or until a cake tester comes out clean, or when the cakes spring back when you touch them.  Makes around 1 1/2 dozen.

ORANGE COCONUT CREAM CHEESE ICING

1 8 oz. pkg. cream cheese, softened (you can use light)
1/2 cup butter, softened
4 cups of powdered sugar, sifted to get the lumps out
1/4 tsp. salt
1/2 tsp. orange extract
1/2 cup flaked coconut
1 Tbs. milk

Beat together the softened cream cheese and butter.  Stir in the salt and the extract.  Add the powdered sugar a cup at a time, adding a drop or two of milk each time.  It's amazing how little milk you actually need to make an icing consistency.  Don't overdo it, or you'll be adding more powdered sugar to compensate for your soupy icing.  Stir the coconut in last.

If you like toasted coconut as a garnish, spread a nice handful on a piece of tin foil and stick it in your toaster oven on, what else... toast.  Watch it so it doesn't burn, and stir it every couple of minutes until it is a nice toasty color!

I brought these to my hair salon today and gave them to my awesome son, Evan, for beautiful hair color, and to Melrose, for the greatest cut.  They shared!  

Make these and let me know in the comment section how you loved them.


Friday, April 29, 2011

Swiss Cheese Quiche With Ham and Butter Browned Onion Rings


Where do I come up with the names for these recipes?  Far reaching imagination. Possibility Thinking, my friends!  And the title does completely and thoroughly describe the deliciousness of this creation.  Here's how it happened.  A Marie Callender's frozen deep dish pie crust in the freezer, leftover spiral sliced ham from Easter Sunday. (You might ask, what is a nice Jewish girl like Singingirl doing with a ham in her refrigerator?  Answer, my Pianoman is a nice Irish boy....) Okay, pie crust, ham, a block of swiss cheese, fresh basil needing to be used.  Plus, I haven't posted a recipe in so long, I almost forgot my username and password.  If you have looked at one of my other recipes for quiche on the blog, you will see that the basic recipe for the custard remains pretty much the same, with a little tweaking here and there.  It's the extras that make each of them unique.  So, whether you like broccoli or cauliflower quiche, or if my newest creation appeals to you with deliciously browned onions, finely chopped, extra lean ham, and seasoned with fresh basil, one thing is clear. The possibilities are limitless for creating a perfect tasting quiche! Think of it and make it.  I did!

SWISS CHEESE QUICHE WITH HAM 
AND BUTTER BROWNED ONION RINGS
1 deep dish frozen pie crust (of course, you can make your own... but why!!??)
1 Tbs. dijon mustard
1 Tbs. butter
1 medium onion, thinly sliced
1 8 oz. block of swiss cheese, shredded
1/2 cup of finely chopped, lean ham (of course, my vegetarian friends can omit this)
1 Tbs. thinly sliced fresh basil (or use 1 tsp. of dried)
4 eggs
1 1/2 cups of milk (I used fat free, it works great)
3 level Tbs. of flour
Salt and pepper to taste
1/4 cup of grated Parmesan cheese

Preheat the oven to 375 degrees. Brush the bottom and sides of the pie crust with the dijon mustard and set aside.  In a small pan, melt the butter and season the onion rings with salt and pepper. Brown the onions on medium heat, stirring, until the onion rings are browned but not burnt and are nicely softened. Remove from heat and set aside for a moment.  Spread the shredded swiss over the bottom of the prepared pie crust. Distribute the finely chopped ham, browned onions and basil over the cheese.  In a separate bowl, combine the eggs, milk, flour, salt and pepper.  Whisk until light and frothy, and then carefully pour the custard over the top of the quiche.  Sprinkle with the Parmesan cheese (my secret for the nicely browned top that you see in the pictures.)   Transfer this to your preheated oven without spilling, haha.... not easy, and bake for nearly 55 minutes or until a tester comes out clean.  Today, my baking time was 53 minutes.

Try this, or one of my others from the blog, and let me know how you liked it.  I love comments, and would love to hear from you.  Thanks for stopping by!

Monday, March 7, 2011

Penne in a Garlicky Butter Sauce with Chicken, Sun Dried Tomatoes and Artichokes

What a recipe title.  But I couldn't leave anything out, it was all so good!  So here's what happened. It was either go out, and we were both pretty exhausted from a long weekend of singing and performing, or stay in and wing it. I just couldn't force Pianoman to go anywhere. And I really didn't want to go anywhere either. I gathered together all the things I needed for this recipe right off my shelf and refrigerator. You probably have most of them in your kitchen right now too. And for those of you who own the cookbook, the recipe is there already for you.  It's one that you might pass by and not think too much of.  Think about it one more time. It's the best, I mean best, and easiest sauce for your pasta. And the add-ins are endless.  Try this one evening, and tell me if it isn't just delicious!

PENNE IN A GARLICKY BUTTER SAUCE WITH CHICKEN, 
SUN DRIED TOMATOES AND ARTICHOKE HEARTS

Start with one whole chicken breast. Mine was partially frozen, which I like better for slicing or cubing.  I cubed mine and tossed it with lemon pepper seasoning, some crushed dried rosemary, a little paprika, salt and pepper. Into a little bit of hot olive oil it all went until cooked through and beginning to brown.  Remove this to a bowl, cover with foil and set aside. And p.s., if you want meatless, by all means skip this step!

Boil 8 ounces of penne pasta or whatever kind you like according to package directions. Drain and set aside.

In a saucepan, melt 1/4 cup of butter. Saute a medium onion and 3 large cloves of garlic that have been very finely chopped. When I say very finely, I mean it.  I do mine in my food processor until it is really finely chopped.  This way, when you saute it you'll get all the flavor in the sauce and no chunky pieces  when you eat the dish.  Seriously.  So, saute the onion and garlic until soft but not browned. Add to this 1/2 cup of chicken broth, 1/4 cup of olive oil, a good handful of chopped fresh parsley, salt and pepper to taste. Heat all this through. Then add whatever suits your fancy.  I added 1/2 cup of sun dried tomatoes and 1 small jar of artichoke hearts which were thoroughly drained. Gently mix these into the sauce. Add the chicken back in as well.  Then add the drained pasta.  Toss everything together well.  Distribute onto your dinner plates.   Sprinkle with freshly shredded or grated Parmesan cheese. This will serve more than 4 generously. 

Things you'll need at a glance:
  • 1 chicken breast
  • 8 oz. penne pasta or your favorite
  • Butter
  • 1 onion
  • 3 cloves of garlic
  • Chicken broth (I used Better Than Bouillon Organic. It's convenient, easy, I can make as much or as little as I like, I don't have to open a big box of broth, it's very good)
  • Olive oil
  • Fresh parsley
  • Your choice for add-ins, or none at all! (Some of my favorites are black olives, sun dried tomatoes, artichoke hearts, fresh spinach, toasted walnuts or pinenuts, etc.)
Enjoy and let me know how you loved it!


Sunday, March 6, 2011

Fresh Pear and Blue Cheese Flatbread

Want to make friends and influence people? How about just impress your dinner guests? Or how about just treat yourself to a really easy to make and very elegant little appetizer?  I ordered something like this at a restaurant in West Palm Beach the other day just around the corner from the salon where my son works as a color specialist.  It was so good, I knew I just had to make this at home. Yet, as delicious as it was, I decided (of course, not being able to leave well enough alone) to kick it up two more notches.

I ordered this. Beautiful, huh?

The dish I was served was sliced pears and blue cheese on flatbread, heated and then topped with a balsamic reduction. The flatbread I'm making includes the addition of chopped walnuts, and the balsamic reduction is a raspberry infused balsamic vinegar.... and I made it myself!   I also used one of my new faves, Bosc pears.  But you could use a very good canned pear IF you had to! So easy.  Here's the easy assembly.


FRESH PEAR AND BLUE CHEESE FLATBREAD
First, make your vinegar reduction ahead of time.  Buy a bottle of good aged raspberry balsamic vinegar.  You don't have to go crazy and buy the most expensive one of the shelf, just something decent.  If you want to have a small supply of it around, use the entire bottle.  Pour it all into a saucepan, bring it to a boil gently, then reduce the heat. Keep it simmering and bubbling slowly, stirring often, until it reduces by half.  It will start to become thick and coat your spoon.  The whole process will probably take twenty minutes or so, but worth it.  After it has reduced, it will be thick and kind of syrupy but will thicken up even more when it cools. (See Singingirl's note below.) It should be the consistency of a syrup, and I'm sure you've seen this in restaurants, so you know what you're looking for.  When it has cooled completely, you can store it in one of those little plastic squeeze bottles that you can get at the dollar store.  You will use this not only for this flatbread recipe but for many other dishes, vanilla ice cream (yep), fruit salads, etc.   If you buy an unflavored balsamic and use this method, you can use the reduction for drizzling over roasted turkey, chicken, pork, etc.  Delish and very gourmet!

Okay.  Now that you have the reduction made you can make your flatbread any time.  I bought a nice, soft wheat flatbread.  Peel and slice a ripe pear, one pear per flatbread, and arrange it over the flatbread in a spiral looking design.  Sprinkle the top of the pear slices with a few chopped walnuts, then scatter a liberal amount of good chunky blue cheese over the top of everything. Pop this under your broiler and broil until warmed and the cheese is softening.  You don't need to get this so hot that you cant eat it, just heat it through until soft and melty looking. Remove to your serving dish.  Drizzle with your special raspberry balsamic reduction, slice with a pizza wheel into four triangles, and prepare to be totally impressed with your culinary panache!!!

Let me know how it turned out for you below in the "comments."  Thanks for stopping by!

At a glance, these are the simple ingredients for this dish:

  • Flatbread
  • Fresh pears
  • Walnuts
  • Blue cheese
  • Balsamic vinegar

Singingirl's note - After assembling and preparing this for the photo, I quickly realized why my end result does not look like what I had in the restaurant.  My reduction was not thick enough, and my blue cheese was more crumbly than large chunky pieces.  Next one I make I will make sure to correct these two things that really only made a cosmetic difference. The taste was still awesome!

Thursday, March 3, 2011

Italian Style Turkey Meatballs

No joke. Really. I know what I wrote in my cookbook about being a meatball snob and liking regular beef meatballs and not those that are mixed with other stuff like pork and veal, etc.  That was then. This is now.  I'm developing a conscience about those long-lashed, four-legged friends. And this doesn't mean that I'm never going to eat a burger again. But more and more I am finding ways to contribute as only one individual can, to cut back on consuming so much red meat.  There, I've said it!!  So, here I've taken the basic recipe for meatballs and substituted good old tom turkey!  I dare you to make these, serve them to whoever, don't tell them it's turkey, and see what happens.  Only kudos my friends, only kudos.  Here's what I did...

Into a large mixing bowl place 1 lb. of ground turkey (not ground turkey breast), 1 egg, 1/4 cup of seasoned bread crumbs (such as Progresso), 1 tsp. dried basil, 1/2 tsp. dried oregano, 1 minced clove of garlic, 1/2 cup chopped Italian parsley, 1/3 cup of shredded (on the bigger hole of your grater) parmesan cheese, 1 tsp. salt, black pepper to taste, and  1/4 tsp. or more red pepper flakes.

Mix all of this together with your thoroughly cleansed hands.  Pour a small amount of breadcrumbs into a small bowl.  Shape the mixture into approximately 20 meatballs and roll each one in the breadcrumbs. Coat a mini muffin tin with cooking spray, and place each meatball into the mini muffin tin, like you see in the picture.  Pop the meatballs into a preheated 400 degree oven and bake for about 20 minutes. Remove from the oven and using a spoon, give each meatball a little turn upside down.  Place back in the oven for 5 or 8 minutes more.  I got the tip on baking the meatballs rather than frying from quirky Alton Brown on the Food Network channel.  I have always heated the olive oil on the stove top and proceeded to make a greasy mess of the area before I was done.  This method is surprisingly simple and what a neat (no pun intended) idea.  They turn out delicious. Crispy from being rolled in the breadcrumbs, with the shredded (not finely grated) parmesan cheese kind of oozing out of them. Yeah, you want to make these.
Are these cute or what?
Baked, crispy, not greasy, delicious!

This is all you'll need:

  • 1 lb. ground turkey
  • Parmesan cheese
  • Egg
  • Bread crumbs
  • Basil
  • Oregano
  • Crushed red pepper flakes
  • Italian Parsley
  • Fresh garlic 

This is what was in the cupboard!

Keepin' it real here, I did not labor over my sauce!!! I doctored up two jars of sauce that I had on hand, by sauteeing a small shredded onion, some freshly chopped garlic, and a bunch of chopped Italian parsley. When I shred onion in the biggest hole of my grater, it just disappears in the cooking but leaves all the flavor. Try that sometime.  Okay, I then added the sauce to the saute and washed each jar out with a quarter cup or so of the red wine that I had opened the night before ;-)   When the sauce is hot and the meatballs are done baking, I drop those into the sauce and let it all heat through.

This made 20 meatballs for me. The first night,  I served this with whole wheat spaghetti, but I was thinking the picture for that might be rather boring. My friend, Cathy, suggested I do meatball subs or sandwiches, and that's exactly what I did, as you can see below!!!  So good.  I buttered good bakery rolls rather than heavy sub rolls, and then grilled them. Topped with halved meatballs and sauce, sliced fresh mozzarella (not the hard type, but the fresh kind) and sprinkled with Parmesan cheese. Broil this until melted and delicious looking,  Now, tell me that doesn't have your name written all over it!  Give beef a break every so often and try this recipe.  You will be amazed at how you would never know the difference.  And for another recipe using turkey, check this one out here.

Turkey Meatball Sandwich with Melted Fresh Mozzarella!
Till next time... Click on "comments" below and let me know you stopped by. Thanks!

Monday, February 28, 2011

Bodacious Banana Blueberry Bread

It's been over a month since I posted a recipe!  And....the last thing I posted was a  fruit bread. Delicious as it was, and many of you made it and reported your outcome, this is a bit of a repeat on the theme.  However, it'll be one worth printing off and putting in your file as it will be the best banana bread you will ever make.  I thought I had posted this a long time ago. Then, I happened to be reading a recipe tip at this place about adding cooled coffee to a brownie mix. I thought what a great idea that is for making it a bit gourmet, and I said wow, I do that with my banana bread and realized I never shared this recipe on the blog. That was a huge run-on sentence, and I don't care... ;-)  So, here it is. Cooled coffee tip and so bodacious.... You've just got to try it.  Plus, you can practice your tongue-twisting capabilities when you talk about it, especially when you add my name to the title.

If you own my cookbook, you know that I recommend baking the bread in one large loaf pan. Today I wanted to make small breads and give three of them away. I actually kind of liked them like that, petite, you can freeze the others, give them away, etc.  I baked them for around 45 minutes at the same oven temperature.  And, of course, when blueberries are not in season you can just omit them.  Enjoy, and let me know in the comment section how you loved it.


BETH'S BODACIOUS BANANA BLUEBERRY BREAD (Say that five times fast)
Preheat your oven to 350 degrees.

Mash 2 very ripe, large bananas. Stir in 1/4 cup of cooled strong, black coffee and set aside.

In a bowl, mix together 2 cups of sifted flour, 1/2 tsp. of baking soda, 1/2 tsp. of salt, and 1 tsp. of cinnamon.

In yet another bowl, cream 1/2 cup of softened butter with 1/2 cup of white sugar and 1/2 cup of brown sugar.  Stir in 1 tsp. of vanilla extract and 1/2 tsp. of almond extract. Add 2 eggs, one at a time and beat well after each addition.

Add the flour mixture and the mashed bananas alternately to the creamed mixture, combining well after each addition.  It's not necessary to beat it to death, though, as this can make for a tough outcome. Stir in 1/2 cup of broken walnut pieces if you like nuts in your bread.  When blueberries are in season, 1/2 cup gently folded in with the walnuts in awesome.

Pour the batter into a loaf pan that has been coated with cooking spray.  Or, prepare 4 mini loaf pans with cooking spray and divide the batter evenly.  Bake one large loaf for an hour at least, or until a tester comes out clean.  Or bake the mini loaves for about 45 minutes. Turn out onto a wire rack for cooling, then wrap in foil when cool.

Below at a glance is the list of ingredients you will need:

  • Ripe bananas
  • Brewed coffee
  • Flour
  • Baking soda
  • Salt
  • Cinnamon
  • Butter
  • White sugar
  • Brown sugar
  • Vanilla extract
  • Almond Extract
  • Eggs
  • Walnuts
  • Blueberries (when available)

Friday, January 14, 2011

Apricot Nut Bread

Wow - I have not posted anything since that potato cheddar cheese soup recipe way back in early December.  Well, I guess that's what the holiday season will do to you sometimes.  Today, however, I needed a very good reason to turn the oven on and add a little warmth to my otherwise chilly house.  Yes, it's even cool here in south Florida.  One slice of this moist and fragrant bread, toasted or not, buttered or not, made into French Toast or not, and you'll be glad you turned your oven on!


APRICOT NUT BREAD
1 cup or more of coarsely cut dried apricots
1 cup of sugar
2 Tbs. of softened butter
1 egg
3/4 cup of milk
3/4 cup of orange juice
3 cups of flour
2 1/2 tsp. baking powder
1 scant tsp. salt
1/2 cup coarsely chopped walnuts

Snip the apricots with your kitchen shears, much easier than trying to chop them with a knife. Pour some hot water over the apricots in a bowl and let sit for a few minutes, then drain.  In a large mixing bowl, mix the sugar, butter and egg thoroughly.  Stir in the milk and juice.  Sift the flour and dry ingredients and stir into the wet mixture. Toss the drained apricots with a small handful of flour. This prevents them from sinking to the bottom of the loaf when baking. Add the apricots and the walnuts to the batter and mix just to combine. Coat a loaf pan with cooking spray. Pour the batter in and smooth over the top. Bake in a preheated 350 degree oven for 60 to 70 minutes. Mine took all of 70 minutes today. A crack in the top of the loaf is normal.  Let the loaf rest in the pan for a few minutes on a rack, then turn out onto the rack to cool, if you can, before slicing.  Use a serrated edged knife for slicing and hold the loaf with your other hand to keep it from splitting.  It's delicious!!

A note to my friends and family who own the book.  In the book, the recipe calls for a different amount of baking powder. I have since lowered this amount to what you see here in this recipe.  When you make the bread, print out this recipe and use the amount I have indicated here, and then make note of it in your cookbook.  Thanks!!